Site Management
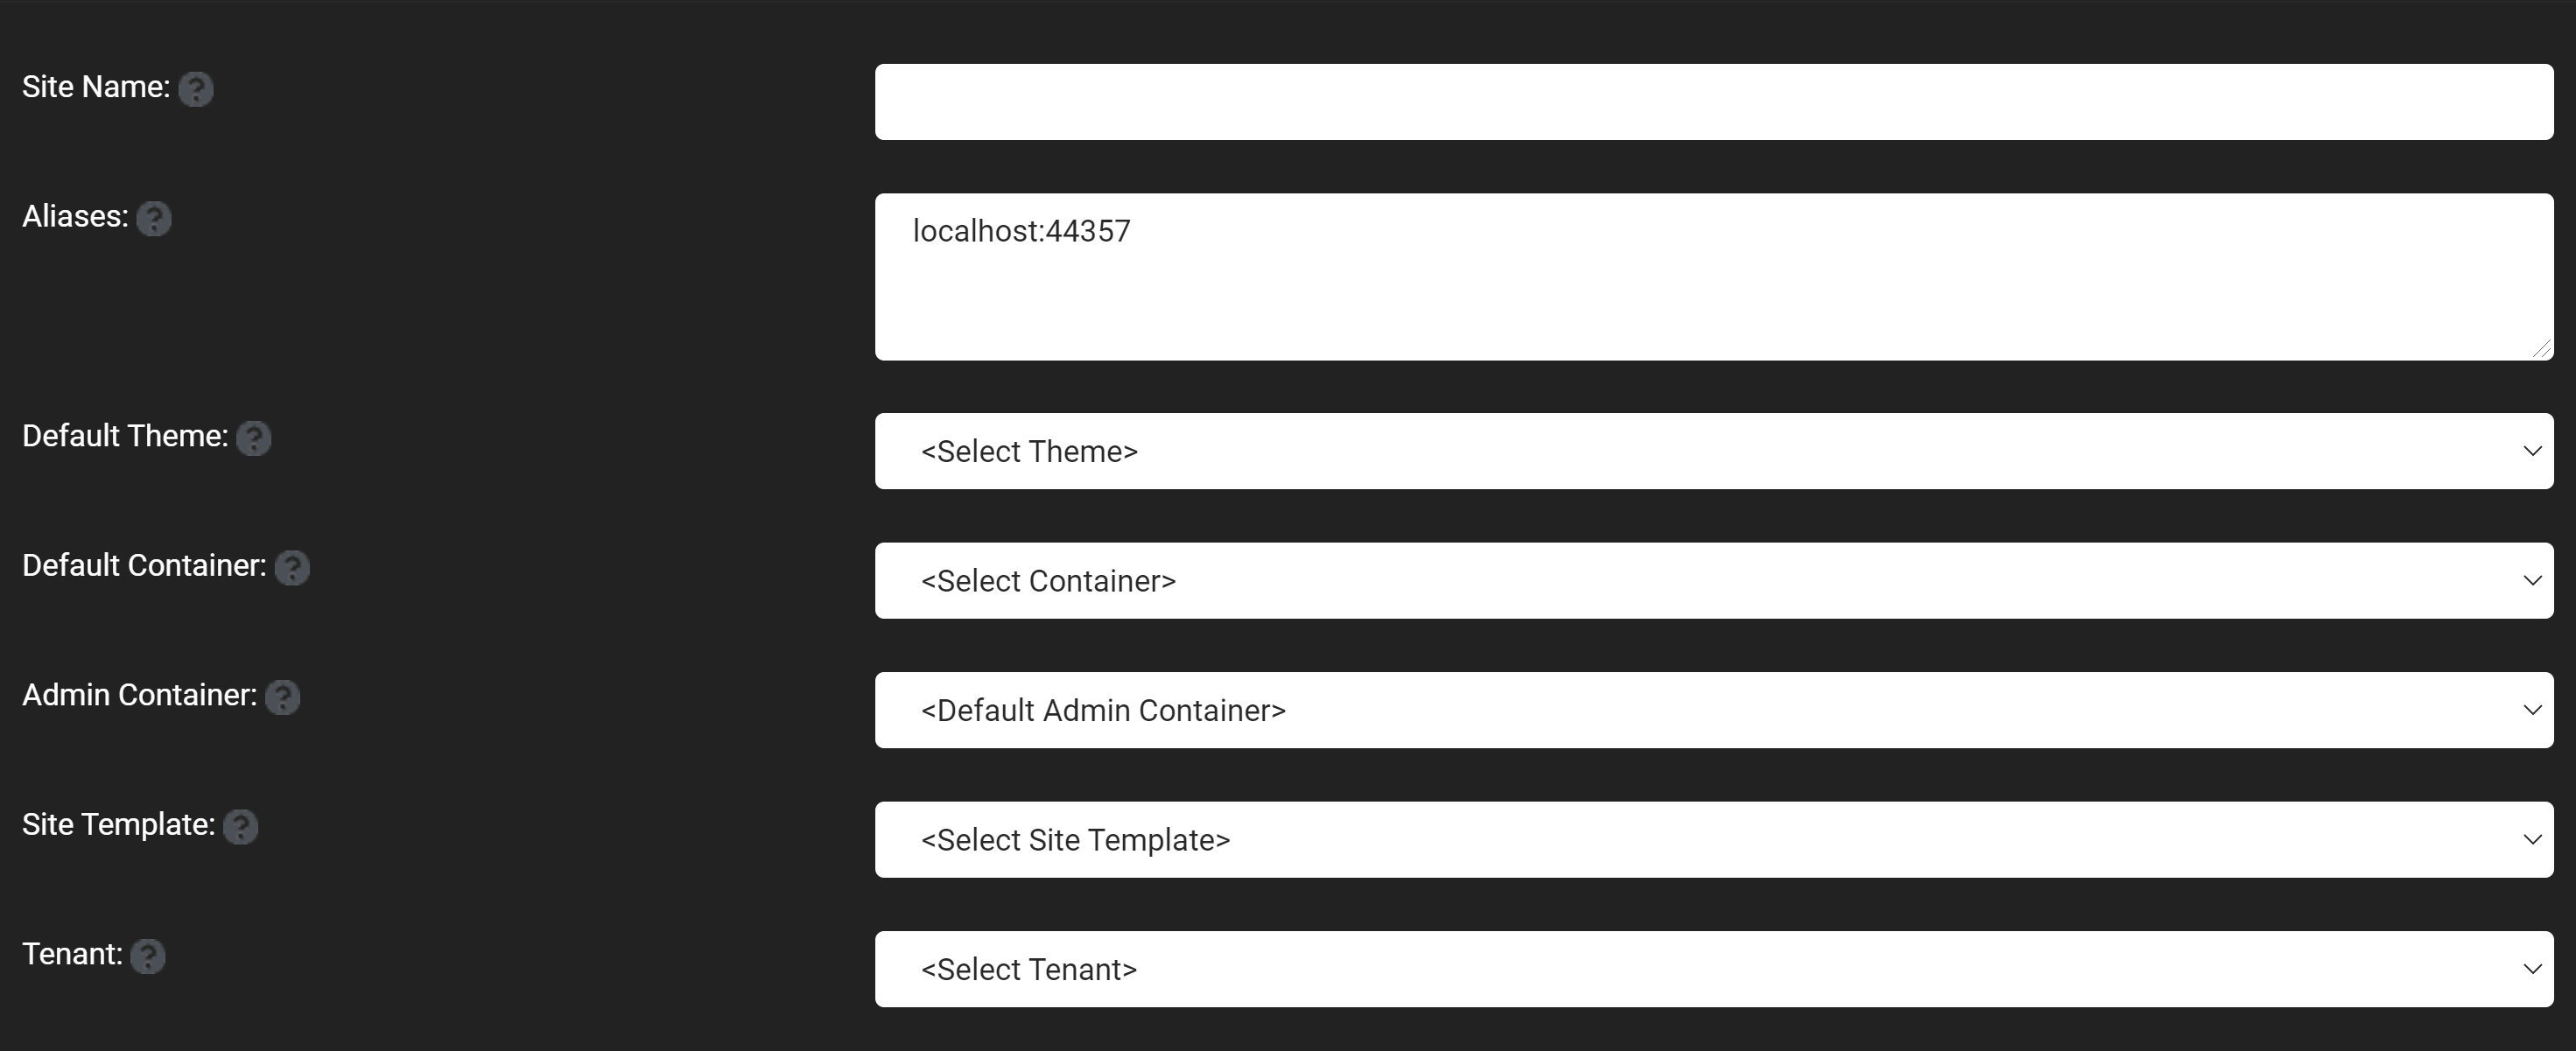
Oqtane provides the ability to have multiple sites at you disposal within the singular Oqtane application. The Site Management page provides an inventory of all the sites in a Oqtane instance and quick access to the Site Settings functionality for each. Deleting your sites is permanent! So it should not be done unless you are certain you want to delete this site. The options to add and edit the set has a few options:

- Site Name: This field is what the site will be called.
- Aliases: This is what the address of the site is that is being created adn can create websites under the default top level website, by using a / forward slash with the a name you want under the top level website.
- Default Theme: Choose the theme, which is the colors and styles that will be the default for pages created on this website.
- Default Layout: Choose how many content panes you want to have on a page by default.
- Default Container: Choose if you want a title header for your modules on the site by default.
- Site Template: Select if you want a template for your site or no template for your site.
- Tenant: Select the tenant for the site, which is the database that will be used for the site.
- If you want to create a new tenant or database then you will have to select the "create a new tenant" option which will drop down with another menu that allows for a new tenant to be created, this menu includes:
- Name: This is the name for the new tenant on the site, that you will be creating and what will be displayed when selecting tenants in the future.
- Database Type: Choose if you would like the database to have a local database, which will create a Microsoft SQL database on your local database on yur system, and an SQL server which creates a that is linked to an SQL server.
- Server: This is the location of where the server where the database will be located and a default value is provided for a local database.
- Database: This is the name that is initialized for the database inside of the server and a default value is provided for a local database.
- Integraded Security: Choose if you want the host superuser for the site to have the same credentials (username and password) as the database's root account.
- Host Username: This is the username of the super user host account that will be created for the site, it will also be the database's root username if integrated security is set as true.
- Hosts Password: This is the super user host account's password, it will also be the database's root account password if integrated security is set as true.